Slimming down has never been this easy!
12 years ago


Since TV shows are not allowed in mininova, people would start finding new torrent sites which provide one. Piratebay and Demonoid still hosts TV shows. For this I would like to give out invitation codes for Demonoid. :) I will be giving out 5 invitation codes to the lucky commenters to be drawn at June 1. Start commenting guys.
Having a colored subject with a monochrome background is relatively easy to do. This post-process editing would help focus more on your main subject by highlight it. Otherwise, othe reasons to use this kind of editing is for artistic purposes. Here's a step-by-step guide on Photoshop on how to do it (I use Photoshop CS4 Micro):
1. Open up your photoshop.
2. Open the file you want to edit via File>Open
3. Duplicate the Background Layer (Ctrl + J)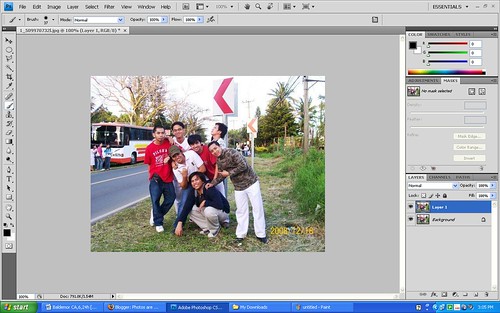
4. Make the Background Layer Monochrome(Ctrl + Shift + U)
5. Make a mask layer for Layer 1. Select the mask layer.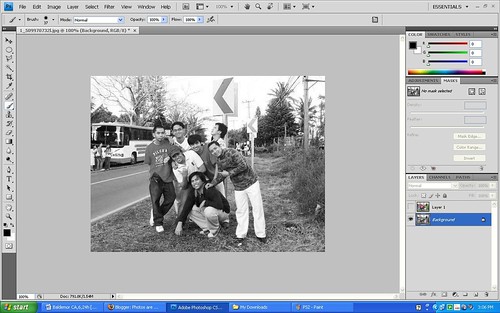
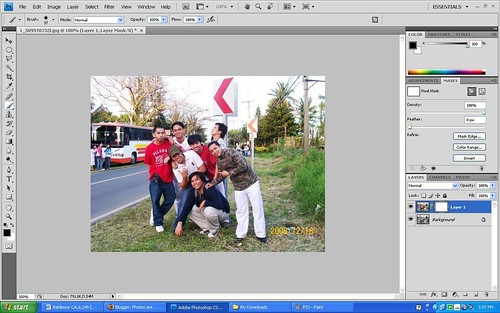
6. Select the Brush tool and make the foreground color black (This erases the pictures while the white foreground paints). Only erase the areas that you want to be monochrome, in this case, the background. For easier visualizations, tick the eye button beside the Monochrome background layer.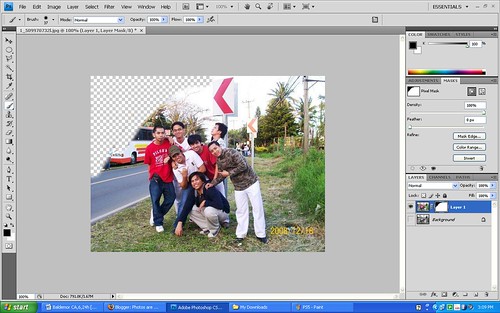
7. After being satisfied with your work. Tick the eye button again beside the Monochrome background layer to reveal your background. After that, you're finished. :) There you go!
Here are some of the pics i've done.


Taking night photos is an exciting endeavor, especially when you are looking for great landscape shots of night lights and cities. Here are some tips on how to take photos at night:
1: Switch your camera to Manual mode by turning the mode dial to ‘M’.
2: Choose the smallest f-number available and a relatively long shutter speed to record the lights. One second is a good starting point and most cameras indicate seconds using double quotes, so look for 1”.
3: Keep your camera very steady. Preferably use a tripod or a Gorillapod. Use the self-timer to avoid wobbling the camera as you press the button.
4: Check your photo. If the lights aren’t bright enough, try a slower shutter speed. If the lights are too bright, try a quicker shutter speed.
5: After taking your photo, remember to set the mode dial back to Auto or Program mode.
Watch out!
Always temporarily switch off any anti-shake or image stabilisation systems when using a tripod. If the camera is perfectly steady these systems can actually introduce wobbling as they attempt to counteract something which isn’t there.
Some cameras will also have difficulty focusing in dark conditions, so if yours is having problems, switch the lens to manual and focus on the lights. If they are distant, focus the lens to infinity.
Another way to maximise available light is to increase your camera’s sensitivity by using a bigger ISO number. Increasing the sensitivity will however reduce your picture quality and may still not give you a quick enough exposure to handhold. So stick to using a tripod and a low ISO number for the best quality.
There you go! Enjoy taking photos! :)
It's summertime already! I bet a lot of you would want to hit the beaches and take photos of great sunrises or sunsets within the distant horizon. However, most of the time, these photos would look faded or washed out when taken in automatic mode. Here are some tips on how to take them:
1: Switch your camera to Program mode by turning the mode dial to ‘P’.
2: Press the exposure compensation button. This is normally labelled with a plus and minus symbol – check your manual for details.
3: Set the compensation to a negative value to deliberately underexpose the shot – a setting of -1 is a good starting point. Some DSLRs require that the compensation button be held as you make this adjustment.
4: If the result is still too bright, choose a bigger number, like -1.5 or even -2. If the result is too dark, choose a smaller number like -0.5 or -0.3.
5: After taking your photo, set the compensation back to zero or all your photos will be darker than normal. Finally if desired, set the mode dial back to Auto.
Expert tip
Last friday, Chi and I decided the take a tour at the Manila Zoo. It was just for fun. Tickets cost P40 ($0.80) for non-Manilans and P20 ($0.40) for Manilans. Of course being students of PLM, we got the P20 worth tickets. :) Not that many animals to see compared to Avilon Zoo, but it is still enjoyable. :) Here are some pics during the tour. Enjoy. These were taken by my Sony Ericsson S700i.
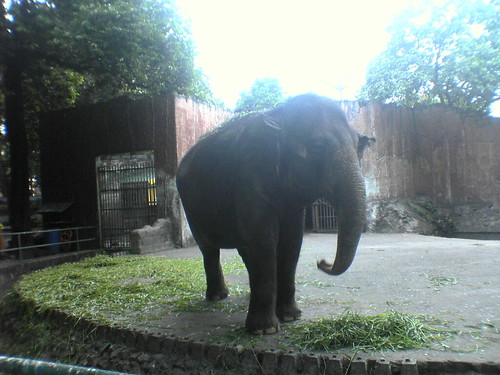 Dumbo
Dumbo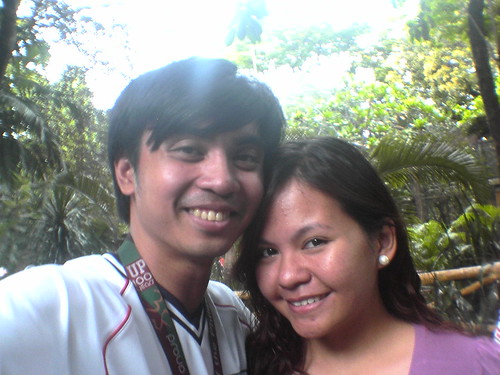 Me and Chi
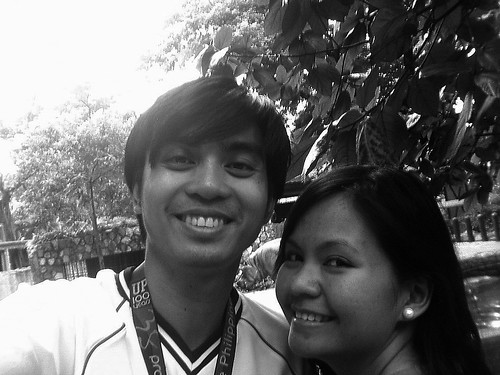 Me and Chi with a Hippo at the back
 Hisss!!
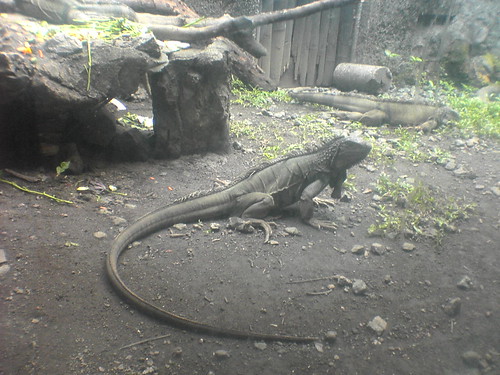 Iguana
 TMNTs
TMNTs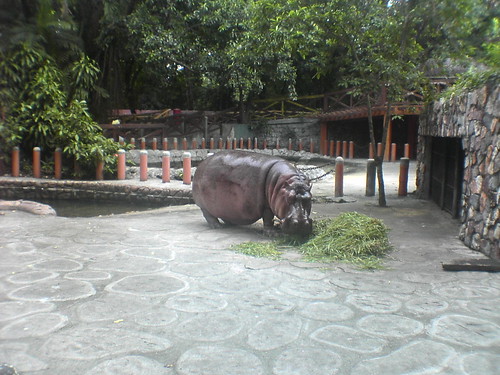 Love this pic of the Hippo! LOL! So fat and chubby!
 Enjoying it!
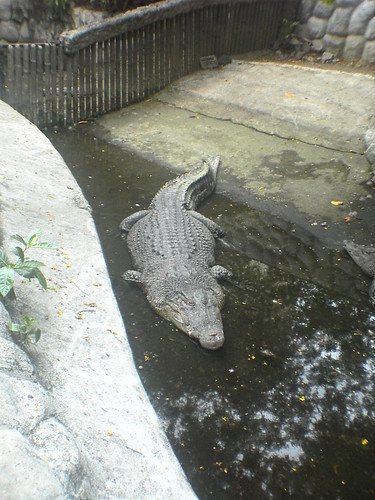 Reminds me of the Croc Hunter
 Now this reminds me of a classic cartoon movie
 Now this reminds me of Madagascar
 A magnificent bird!
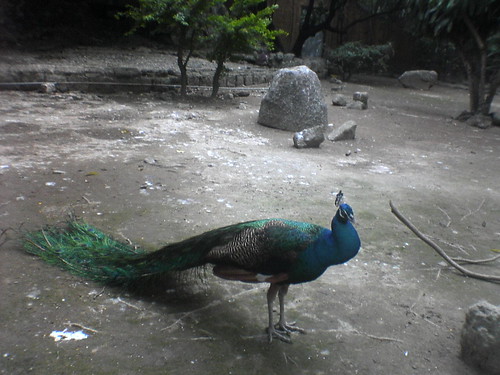 Very vibrant colors!
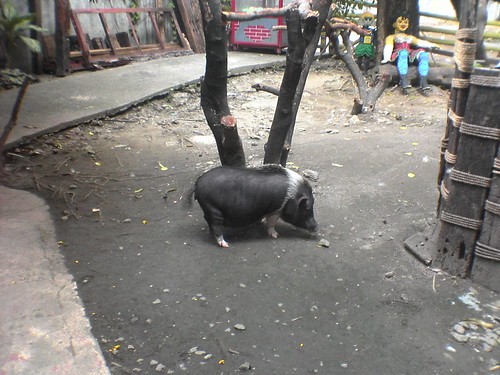 Our favorite animal in the zoo. SO chubby!!!
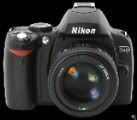
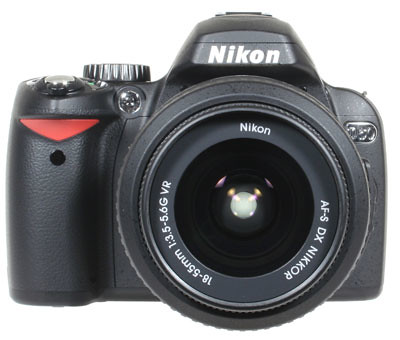 Like the Nikon D40 and D40x, the Nikon D60 is an entry-level DSLR. It features a 10.2 megapixel CCD sensor and a 2.5 in screen along with the same body and controls as the Nikon D40x. So what is new with the Nikon D60?
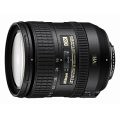
The great thing about buying the Nikon D60 is that you can purchase it with a Nikkor DX 18-55mm VR lens which features vibration reduction facilities. Also new to the D60 are eye sensors which switch the screen off when you're looking through the viewfinder, a stop-motion recording mode, Active D-Lighting and an anti-dust system. We'll talk about them one by one.
Unlike the Nikon D40x, the Nikon D60 has eye sensors which detect when you are looking through the viewfinder. This will close or open the LCD screen in your camera which will save you battery life. Furthermore, the LCD screen can now rotate as you rotate your camera to shoot portraits or landscape photos.
The stop-motion feature of the D60 allows you to make clips from your images. You can adjust the frame rate and the resolution of the movie. This feature is somewhat limited in the sense that you can only make a 100-image movie. This severely limits what you can do with the D60 when it comes to making clips (it IS a camera and not a camcorder).
Active D-lighting is another new feature for this entry-level camera which can be used to preserve details of your images (e.g. shadows, washed out images, etc). It is a feature borrowed from Nikon's higher end DSLRs. Its pretty useful for beginners and advanced users alike.
Lastly is the anti-dust facility. There are two ways in which this camera combats dust: it can vibrate the filter in front of the sensor in order to shake of the dust and a brand new airflow system. The airflow system exploits the air pressure within the DSLR to flush the dust out through the air ducts within the lens mount. Pretty useful eh?
Looking for cheap Nikon D60 prices? Its in here. Or you can buy one through Amazon.com.
Stop motion video: Creates a stop-motion animation from a sequence of images for added creative fun to your pictures.
Up to 500 Images per Battery Charge: The supplied EN-EL9 rechargeable battery will allow for shooting up to 500 images per charge based on CIPA battery testing standards.
After discussing about ISO, we'll be discussing about SHUTTER SPEED.
SHUTTER SPEED
Shutter speed is simply a measure of how long the shutter stays open when you take your picture. Automatic cameras can handle this adjustment for you, but there are cases in which you’ll wish to use the shutter priority function of your camera. These are particularly useful when taking pictures of fast moving objects or taking a shot at very low lighting.
In practice, low shutter speeds are used together with high ISO settings in instances wherein there is very low lighting conditions. Low shutter speeds are also used when taking pictures of objects that are moving with a blurred background. They are also useful in depicting "moving" pictures of waterfalls or rivers. The only downside is that an image shot using a low shutter speed is prone to camera shakes. Better use a tripod in these situations.
High shutter speeds are for moving objects also, but with a relatively still background. They can also be used when shooting in places with appropriate lighting. Furthermore, a high shutter speed would help avoid camera shakes when taking a photo.
That is all for SHUTTER SPEED. Next time, I'll be discussing about EXPOSURE COMPENSATION.
After discussing about FOCAL LENGTH, we'll now be discussing ISO. So what exactly is ISO?
ISO
ISO is the measurement of how sensitive a digital camera's sensor is to light. These are represented by ISO numbers (e.g. 50, 100 - 6,400). A higher ISO number would mean a higher sensitivity to light while lowering it would mean the opposite. So how important is the ISO setting?
Higher ISO numbers indicate a higher sensitivity to light, so less time is needed to expose a picture. Most digital cameras let you control the ISO setting to allow the use of higher shutter speeds and/or smaller apertures, according to circumstances.


